Today, I’m going to show you how to install and use RealVNC on a Raspberry Pi 4 B with Raspberry Pi OS installed. This service is usually already installed on the system. By executing the following commands, we are updating the RealVNC server, if the service isn’t installed it will install it.
sudo apt-get update
sudo apt-get install realvnc-vnc-server
Activating RealVNC
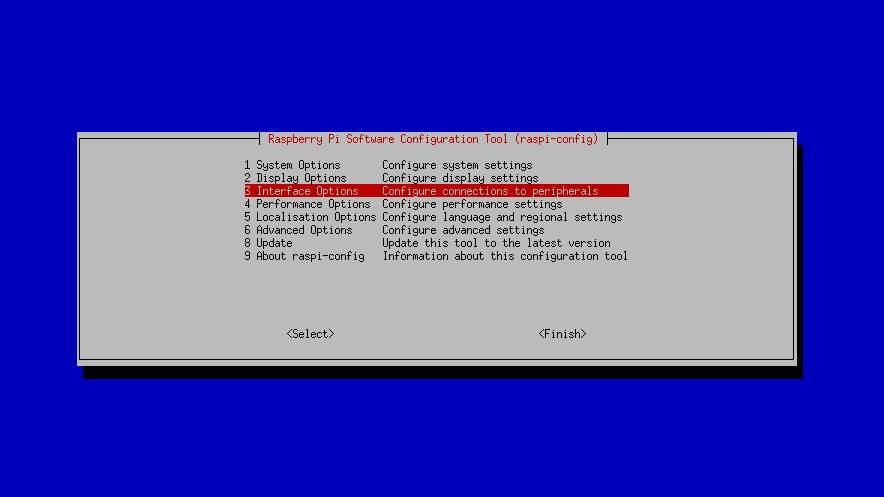
Now we activate the VNC Server in the raspi-config
sudo raspi-config
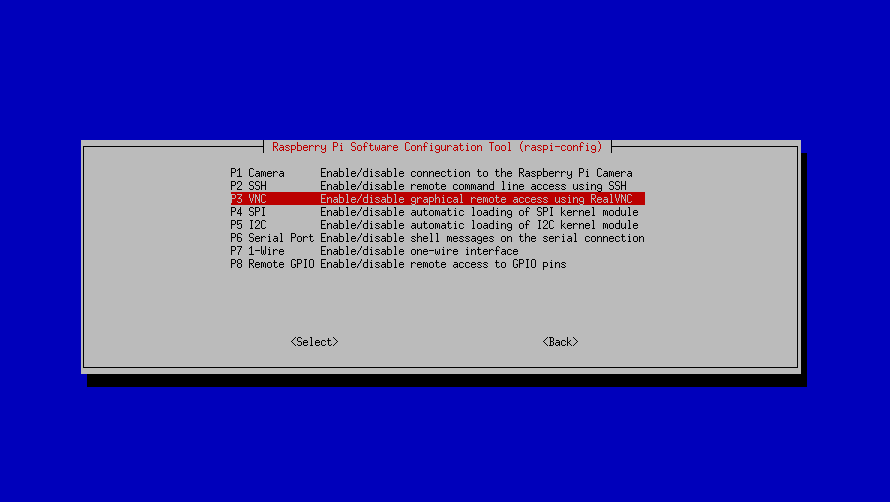
Now click on the red highlighted text in the pictures.
Select Interface Options to allow certain Services like SSH and VNC to control your Raspberry Pi.
Select VNC to enable graphical remote access using RealVNC.
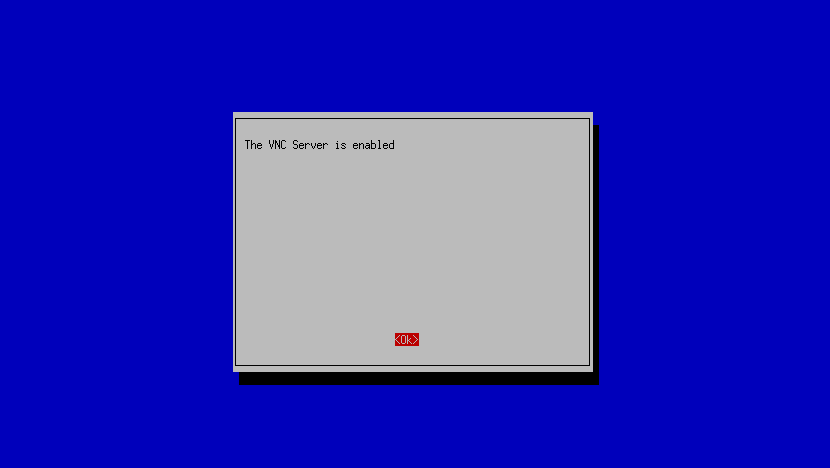
Now it asks you if you want to enable graphical remote access using VNC or if you want to disable it click <yes> to enable.
Here the config just tells you that you have just enabled your VNC Server.
Install VNC Client
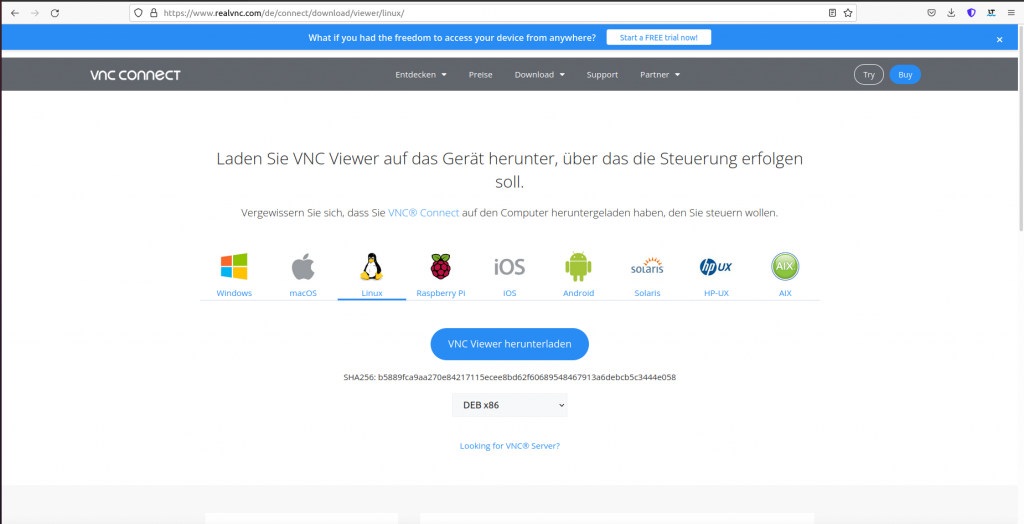
In this step, I’m showing you how to install the RealVNC Client on the computer from which you want to control your Raspberry Pi. We are installing it on Ubuntu, but you can just install it on your OS by choosing the file for your OS on the following Website.
For Ubuntu or any other Debian based Linux distro we are selecting Linux then we download the DEB x86 file. After it is downloaded, we execute the following command in the Terminal.
sudo dpkg -i path/to/file.deb
Now you start up the VNC Client. At the bar at the top you enter your.rpi.ip.adress:5900